Eliminate damp naturally: Dealing with persistent dampness in your home can be frustrating and potentially harmful to both your property and health. Many homeowners immediately reach for harsh chemicals like bleach or ammonia when tackling mold and damp issues, but professional painters have long known there’s a simpler, more effective solution. This natural method not only addresses the immediate problem but helps prevent future occurrences without introducing toxic substances into your living environment. The painter-approved technique focuses on proper ventilation, natural ingredients, and addressing the root causes rather than just masking symptoms.
Why Professional Painters Recommend Natural Damp Solutions
Professional painters frequently encounter damp issues when preparing walls for painting and have developed expertise in addressing these problems effectively. They recommend natural solutions because harsh chemicals like bleach and ammonia can damage surfaces, affect paint adhesion, and release harmful fumes. Additionally, while these chemicals might temporarily kill mold spores, they don’t address the underlying moisture problem. Painters have observed that natural methods not only eliminate current damp issues but create conditions that prevent future problems, protecting both the integrity of their paintwork and the health of residents.
The Simple Painter-Approved Method for Eliminating Damp
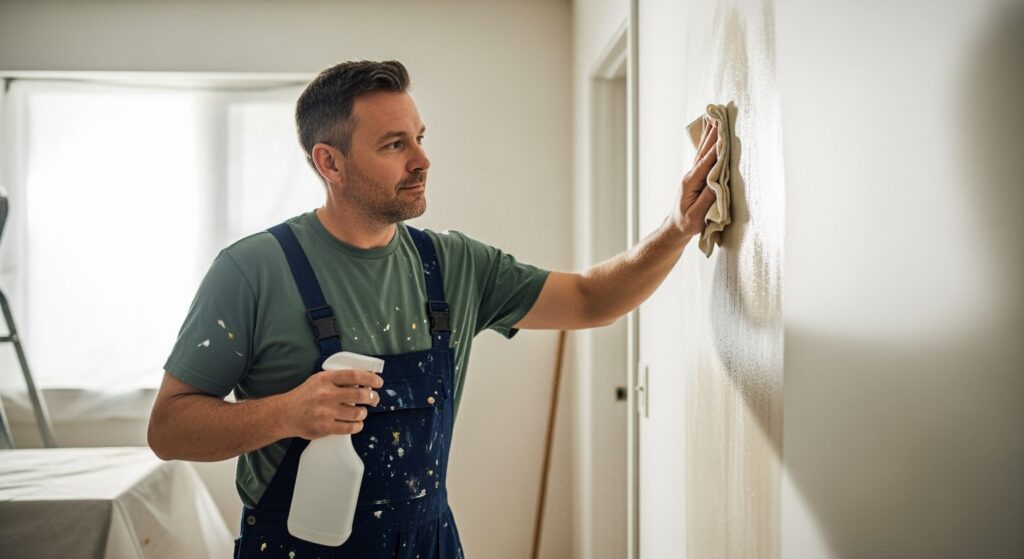
The professional painter’s approach to eliminating damp involves a three-step process that tackles both the symptoms and causes. First, improve ventilation by opening windows regularly, installing extractor fans in high-moisture areas like bathrooms and kitchens, and using dehumidifiers in problem spaces. Second, create a natural anti-damp solution by mixing white vinegar with water in equal parts, adding a few drops of tea tree oil for its natural anti-fungal properties. Finally, apply this solution to affected areas, allow it to dry naturally, and follow up with a moisture-resistant primer before repainting.

| Natural Ingredient | Ratio in Solution | Properties | Application Method | Drying Time |
|---|---|---|---|---|
| White Vinegar | 1:1 with water | Kills mold, removes odors | Spray bottle | 1-2 hours |
| Tea Tree Oil | 10 drops per liter | Anti-fungal, prevents regrowth | Mixed in solution | N/A |
| Baking Soda | 2 tbsp per liter | Absorbs moisture, deodorizes | Paste for severe areas | 4-6 hours |
| Lemon Juice | 1/4 cup per liter | Natural bleaching, fresh scent | Mixed in solution | 1-2 hours |
| Salt | 1/2 cup per liter | Absorbs moisture, abrasive | Scrub paste | 2-3 hours |
Preventing Damp Return with Natural Damp Elimination Techniques
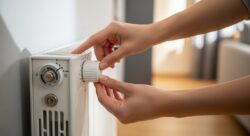
After successfully treating damp areas with the painter-approved method, implementing preventative measures ensures the problem doesn’t return. Professional painters emphasize that maintaining proper ventilation is crucial, especially in areas prone to moisture buildup like bathrooms, kitchens, and basements. They recommend keeping furniture slightly away from exterior walls to allow air circulation and using moisture-resistant paint products in vulnerable areas. Additionally, addressing any external factors contributing to dampness, such as leaking gutters or cracked exterior walls, creates a comprehensive approach to damp elimination that tackles the issue from both inside and outside the home.
Essential Tools for Natural Damp Elimination Every Homeowner Should Have
To effectively implement the painter-approved method for eliminating damp, having the right tools on hand makes the process more efficient and successful. Professional painters suggest assembling a damp-fighting toolkit that includes both preventative and treatment items.
- Spray bottles for applying natural solutions evenly to affected areas
- Microfiber cloths that won’t leave residue when wiping surfaces
- A good quality dehumidifier for rooms with persistent moisture issues
- Moisture meter to identify problem areas before visible signs appear
- Mold-resistant primer to prepare surfaces after treatment
- Natural essential oils with anti-fungal properties like tea tree and eucalyptus
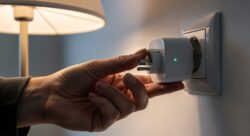
- Ventilation fans for bathrooms and other high-humidity spaces
FAQs
Q: How often should I apply the natural solution?
A: Every two weeks initially
Q: Can this method work on black mold?
A: Yes, with persistence
Q: Is vinegar smell permanent?
A: No, dissipates quickly
Q: Will this damage wallpaper?
A: Test small area first

Q: How long until results appear?
A: Usually within days